
Snagging and finishing on newer estates
A large share of housing in and around Hook was built from the 1970s onward, with further estate development continuing more recently. Plasterboard-and-skim finishes on these homes are generally straightforward to repair or redecorate, but new-build snagging often reveals hairline cracking at wall-ceiling joints or around window reveals as timber frames settle in the first year or two. Scrim taping joints properly and allowing adequate drying time between coats reduces the chance of cracks reappearing through fresh paint.
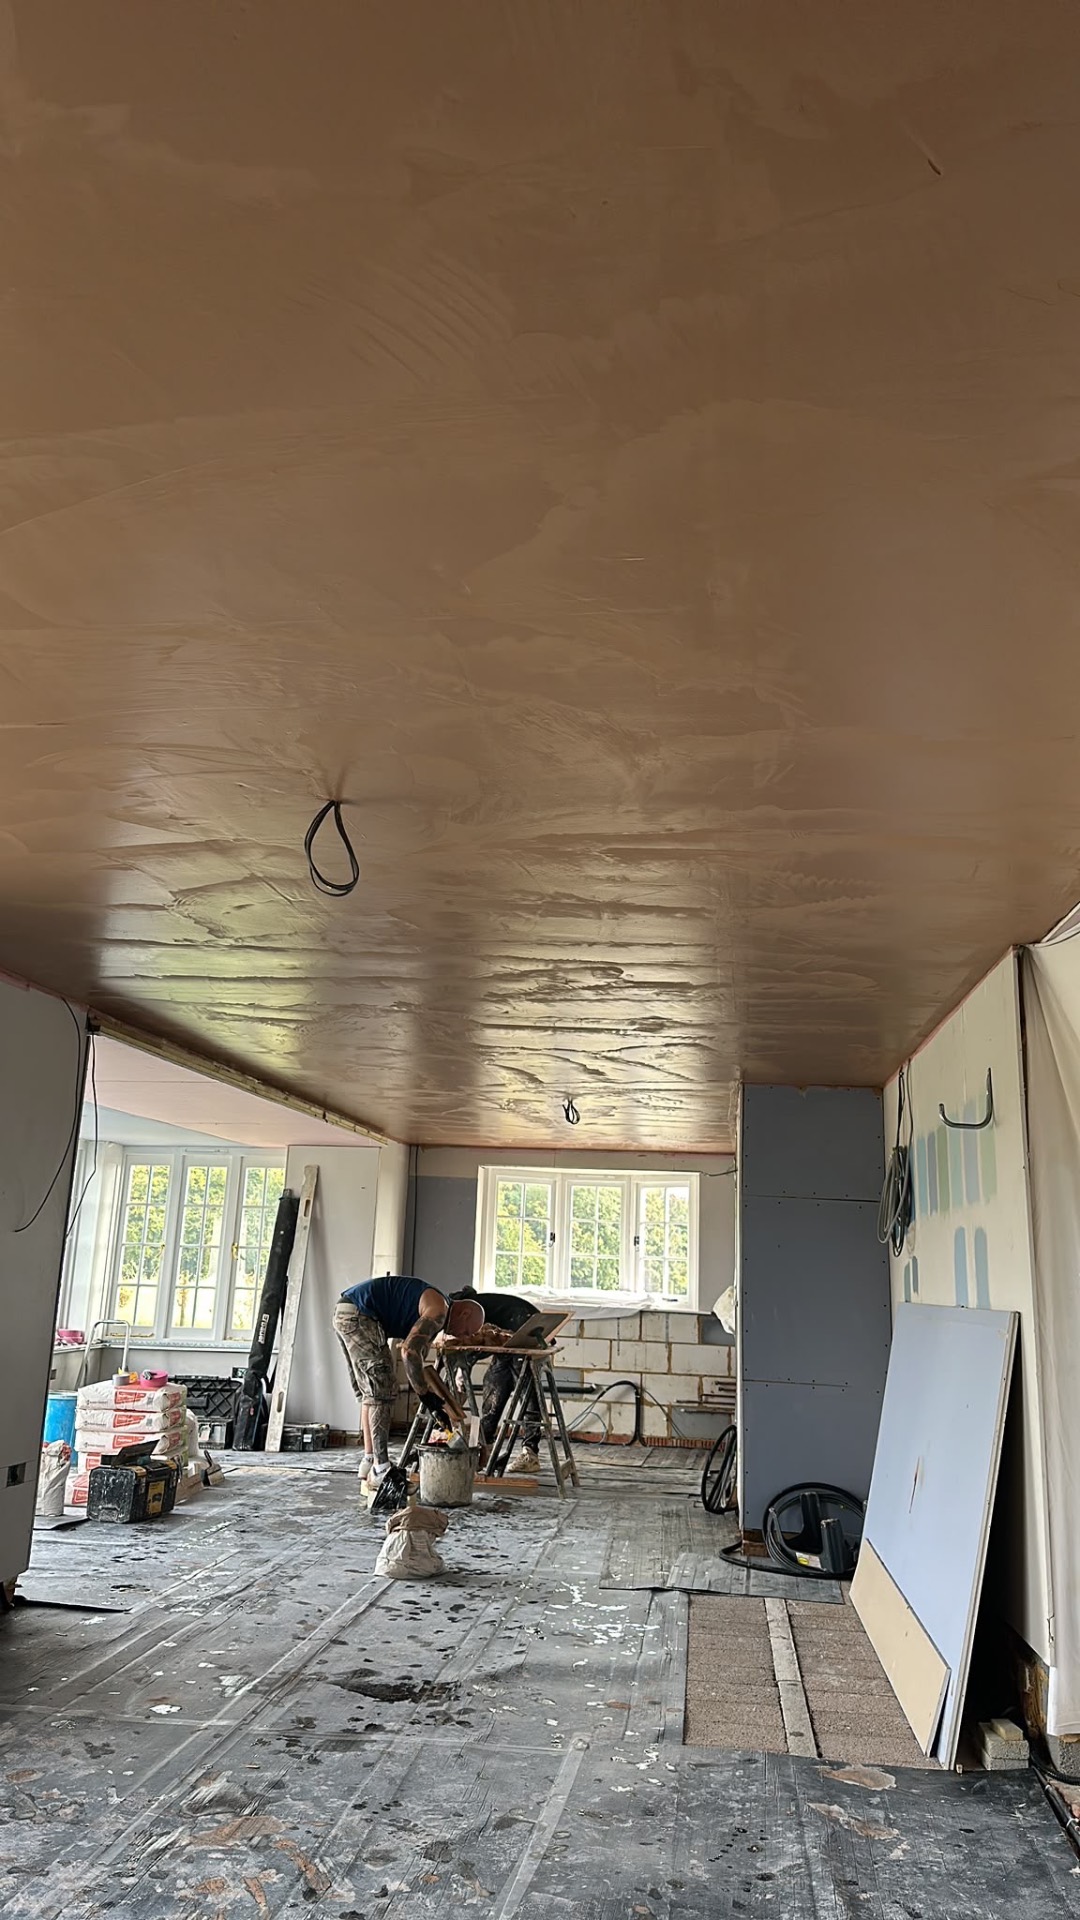
Where a developer's original finish was rushed, a skim recoat over the existing plasterboard can even out trowel marks and flat-painted walls before you redecorate, without the cost or mess of stripping back to the board.
Developers on larger Hook estates often use subcontracted plastering teams working to tight schedules across many identical house types, which is part of why finish quality can vary noticeably from one plot to the next even within the same development. If you've bought a new-build and aren't happy with wall straightness or ceiling flatness, it's worth raising it during the snagging period while it's still the developer's responsibility to put right, before taking on any remedial work privately.
Extensions and loft conversions on estate housing
Many Hook homes have had rear extensions or loft conversions added since original construction, which is common for family houses needing extra space near the station and town centre amenities. Matching the plaster finish between old and new sections matters for a seamless look, particularly where ceiling heights or board thicknesses differ slightly between the original build and a newer extension.
Loft conversions bring their own considerations: sloped ceilings need careful board fixing to rafters, and insulation upgrades required for modern building regulations can change the depth of the stud work, which affects how corners and junctions are finished.
Planning permission or permitted development rights usually need checking before a loft conversion or larger rear extension goes ahead, and building control sign-off is required regardless, since insulation, fire safety, and structural elements all need to meet current regulations. Getting the plastering right at the end of this process depends heavily on the quality of the first-fix work underneath, including straight stud lines and properly fixed boards.
Older cottages near the village centre
A smaller number of older cottages and farmhouses remain around the original village, some with solid brick or part-timber construction rather than the cavity walls used in later housing. These can have traditional lime plaster or older lath-and-plaster ceilings that behave differently to modern board-and-skim systems, particularly around moisture movement.
Replacing lime plaster with modern gypsum skim on a solid wall can occasionally trap moisture and cause problems later, so it's worth identifying wall construction before deciding on materials for repairs in these properties.
Even where an older cottage has been part-modernised, it's common to find a patchwork of different plaster types across different rooms depending on when each part of the house was last touched. Taking time to establish what's underneath existing paint or wallpaper in each room avoids applying the wrong repair material and having it fail prematurely.
Damp and plaster failure after leaks
Plaster damaged by a leak, whether from a roof, plumbing, or rising damp in an older solid wall, usually needs to be cut back beyond the visibly affected area and allowed to dry before replastering, otherwise the new coat can blow or discolour. This applies to both estate housing with modern plasterboard and older solid-wall cottages, though the drying times and materials used can differ.
Once a leak has been fixed at the source, it's worth leaving the affected wall or ceiling to dry out fully, which can take several weeks depending on the extent of the damage, before applying new plaster. Replastering too early over damp material is one of the most common causes of early plaster failure and can mean redoing the work twice.
Rental and landlord refurbishments
With a steady rental market in a commuter town like Hook, landlords often need plaster repairs done between tenancies on a tight turnaround. Patch repairs to minor cracks and nail pops are usually quick, but a full skim of a room is sometimes more cost-effective than multiple small patches if walls have had years of picture hooks, shelving, and general wear.
Turnaround time matters for landlords between tenancies, and plaster repairs are often scheduled alongside redecoration so that drying time for new skim coats doesn't delay the whole refurbishment. Being upfront about letting timescales when booking work in helps avoid rushed finishes that show through fresh paint.
Garages and outbuildings converted to living space
Garage conversions are a common way to add space without a full extension on estate plots. These typically need insulated stud or dot-and-dab walls built before plastering, and the existing garage floor and door opening usually need addressing as part of the same project to get a finish that matches the rest of the house.
Where a garage conversion is used as a home office, playroom, or guest bedroom rather than a formal extension, it still needs to meet relevant building regulations for insulation and fire separation from the rest of the house, which affects the wall build-up before plastering can start.
Planning your plastering project
Call with your property location, room sizes and the condition of the surfaces. We discuss the requirements, arrange a quotation and agree the preparation and scope before scheduling the work. These are service areas, not separate branches.